


SP-D300
$300 USD300 W · 50 × 60 × 3.5 cm
A warmer setting for every stretch, flow and session. Explore heating panels for Pilates, yoga and fitness spaces.

From a boutique reformer room to a dedicated hot yoga studio, start with the way your space is used.
A visual concept of Shapes Panel above a Pilates and yoga space. Explore how a suspended panel layout could complement your studio.

 Supplied product photograph · Confirm controller inclusion with your quote
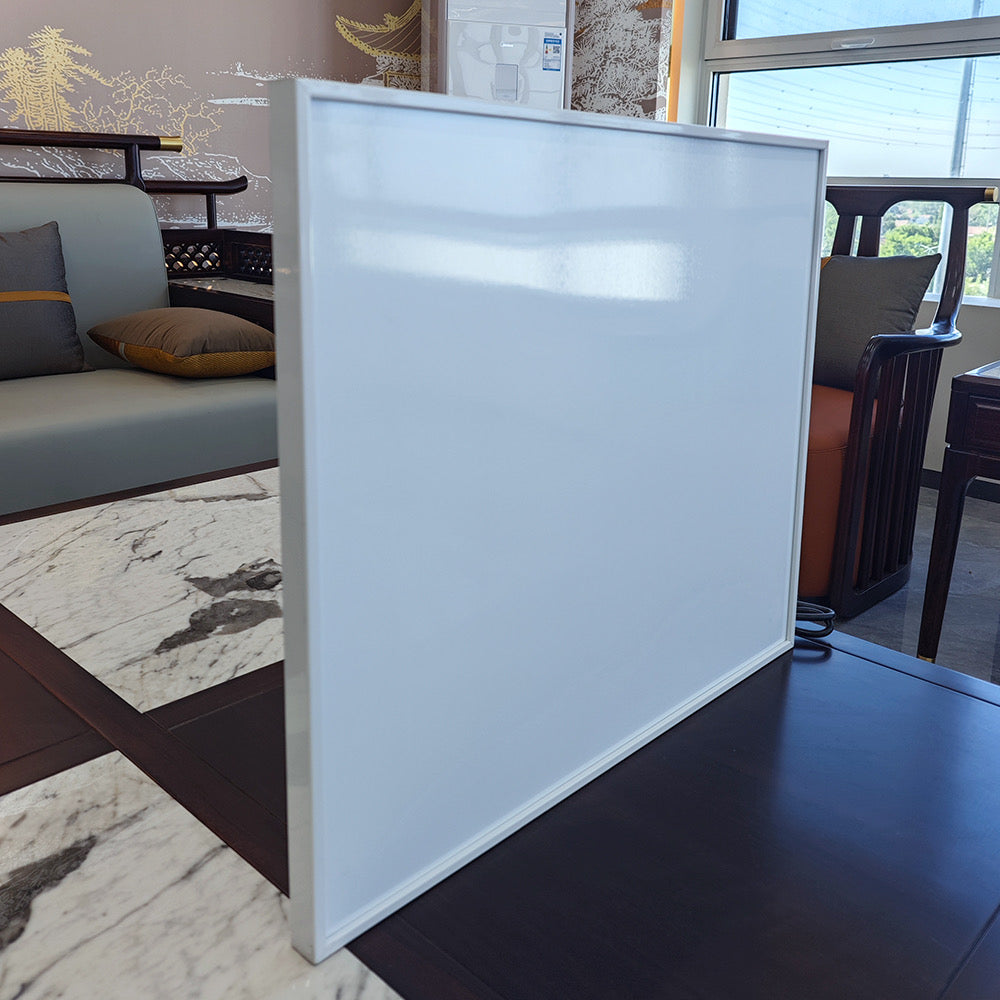
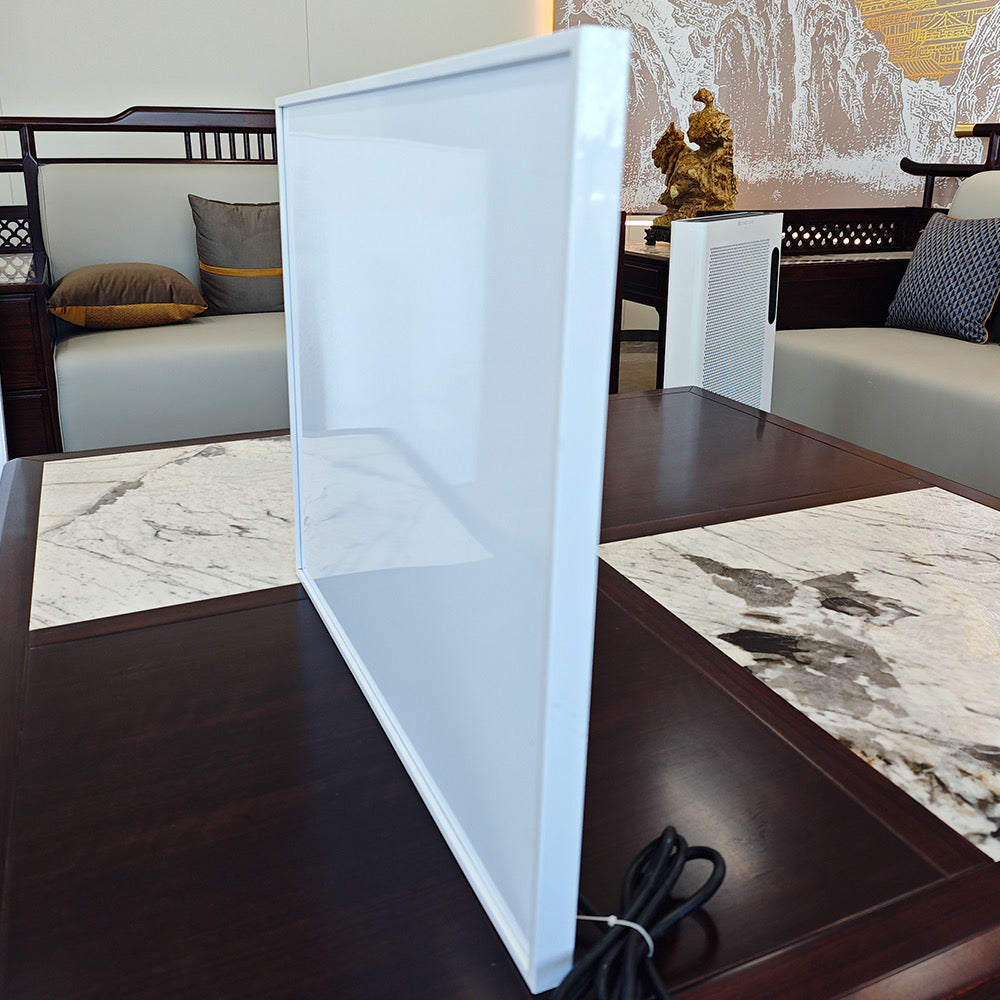
Explore a clean panel format that complements your studio. The right model, placement and controls begin with your room and your goals.
Five panel formats, from 300 W to 1,200 W. Choose the size, supply voltage and control preference for your project.
Each panel below uses the same drawing scale. All models are 3.5 cm (about 1.4 in) thick. Diagrams illustrate dimensions, not installation orientation.
300 W · 50 × 60 × 3.5 cm
500 W · 60 × 100 × 3.5 cm
800 W · 60 × 120 × 3.5 cm
1000 W · 70 × 120 × 3.5 cm
1200 W · 80 × 120 × 3.5 cm
| Model | Dimensions, cm | Approx. dimensions, inches | Rated power | Panel price |
|---|---|---|---|---|
| SP-D300 | 50 × 60 × 3.5 | 19.7 × 23.6 × 1.4 | 300 W | $300 USD |
| SP-D500 | 60 × 100 × 3.5 | 23.6 × 39.4 × 1.4 | 500 W | $380 USD |
| SP-D800 | 60 × 120 × 3.5 | 23.6 × 47.2 × 1.4 | 800 W | $480 USD |
| SP-D1000 | 70 × 120 × 3.5 | 27.6 × 47.2 × 1.4 | 1000 W | $580 USD |
| SP-D1200 | 80 × 120 × 3.5 | 31.5 × 47.2 × 1.4 | 1200 W | $680 USD |
Dimensions and power are from the supplied SP-D series product chart. Voltage options: 110 V or 220 V (separate versions, not a dual-voltage switch). Confirm your selected model, plug / wiring configuration and controller compatibility before ordering.
The manual describes digital temperature control, a remote, child lock and a 1–12 hour shutdown timer. Feature availability depends on the selected version.
Wi-Fi is described as optional. Compatible versions use Smart Life with a 2.4 GHz Wi-Fi connection; confirm inclusion when ordering.
The manual illustrates wall and suspended ceiling installation. Confirm mounting hardware, electrical supply and clearances for your exact model before installation.
WiFi Thermostat · Reference product
The room sensor measures temperature. When heat is needed, the WiFi thermostat sends a low-voltage request to a compatible relay interface, which switches the separate panel power circuit.
Transformer $48 · Heating relay $130 USD. Exact transformer output, VA capacity, relay coil / input and load ratings must be matched to the approved control design.
The thermostat link is provided for convenience, not as an item sold in this cart. Transformer and relay purchases remain optional. A working low-voltage thermostat system still needs the appropriate power supply and switching interface; these may already exist or be integrated in one device. SP panel compatibility must be confirmed.
View reference WiFi thermostat ↗Transformer = control power. It reduces a matched mains voltage to the low voltage needed by the thermostat and control circuit. It does not power the heating panels.
Thermostat = temperature decision. It measures room temperature and requests heat when needed. Wi-Fi adds app access; electrical connections still handle power and control.
Heating relay = power switch. A compatible low-voltage control signal operates its power contacts, connecting or disconnecting the separate mains supply to the panels.
Sometimes one device does both jobs. Some heating relays include a transformer. Check the exact relay before buying a separate transformer.
Confirm that the selected SP panel supports external control and resumes heating after switched power is restored. This is a functional explanation, not a wiring instruction or confirmed compatible kit.
Heater current: total rated panel watts ÷ actual supply volts. This load flows through the relay’s power contacts, not through the thermostat.
Control current: determined by thermostat consumption and relay / interface input requirements. Transformer output current capacity is rated VA ÷ output volts; select adequate VA for the complete control load.
Relay contact rating, control input, transformer VA, wiring and protection must be selected together for the approved system. These generic accessories do not yet have confirmed electrical ratings.
Start with electrical compatibility, then choose the temperature range and features your classes need. Smart features alone do not determine compatibility.
A line-voltage thermostat switches heater power directly and must support the actual supply voltage and heater type. A low-voltage thermostat, often 24 V, requires a compatible relay / contactor and power supply. Never connect it directly to heater mains power.
Check the controller’s resistive-load rating at the actual voltage, including its minimum load. Total watts = panel watts × quantity. Approximate current = total watts ÷ supply volts. The circuit, wiring and switching equipment must all suit the complete load.
Confirm the setpoint range covers your target room temperature in °F or °C, plus the controller’s permitted ambient operating range. Room-air sensors and floor sensors are not interchangeable. Locate the room sensor away from direct panel radiation, sunlight and drafts, following its instructions.
Different rooms or schedules may need separate zones. Compare scheduling, Wi-Fi, remote sensor support and lockout settings. For multiple panels, ask whether a relay / contactor is needed and confirm its voltage, current, pole count and switching-cycle compatibility.
3 × 800 W panels = 2,400 W. At 220 V, the calculated current is approximately 10.9 A; at 110 V it is approximately 21.8 A for the same rated total power. These are separate voltage versions.
This arithmetic does not specify a thermostat, breaker or cable size. A qualified installer must confirm nameplate ratings, applicable sizing requirements and manufacturer-approved wiring. External switching must also be compatible with any built-in electronic controls.
| Parameter to confirm | What to request before ordering |
|---|---|
| Supply / control voltage | Heater voltage; thermostat supply; output type (mains, 24 V, dry contact) |
| Electrical load | Minimum / maximum resistive current and watts at your supply voltage |
| Temperature range | Setpoint limits, sensor accuracy, differential and ambient operating range |
| Sensors & zones | Room-air sensing, remote sensor compatibility, number of independent zones |
| Relay / contactor | Load rating, coil voltage, pole count, cycle timing and transformer needs |
| Connected features | Wi-Fi band, scheduling, app support and keypad lock |
Optional accessories are sold separately: WiFi Thermostat (external reference link; purchase separately), high-to-low voltage transformer $48 and heating relay $130 USD each. The linked thermostat is a reference product. Transformer and relay ratings and complete system compatibility remain to be confirmed. Accessories remain optional purchases; this does not mean that they are unnecessary for your chosen control design.
Technical background: Resideo line-voltage load specifications ↗ · Resideo low-voltage-to-line-voltage relay guide ↗. Reference examples only, not product recommendations.
Choose your panel & control preference ↗Share your location, room dimensions, ceiling height and the classes you want to offer.
Review panel options, electrical requirements and control needs before selecting a system.
Confirm product documentation, lead times and installation requirements with your project team.
Tell us what you’re creating.
Start a project brief for your studio.
US & CANADA · NEW STUDIOS & RENOVATIONS
Panel quantity depends on room dimensions, insulation, ceiling height, ventilation, target temperature and verified model output. A room review is needed before providing a specification.
Share your intended class format and temperature goals. Suitability must be confirmed against the selected panel’s specifications and your building’s conditions.
Choose the 110 V or 220 V version to match your project. These are separate supply-voltage options; confirm the selected unit’s nameplate and wiring configuration. The supplied manual contains conflicting minimum mounting heights; obtain clarified instructions from the manufacturer and review the setup with a qualified local installer before installation.
Panel prices are shown in USD per unit: 300 W $300, 500 W $380, 800 W $480, 1000 W $580 and 1200 W $680. Optional accessories: WiFi Thermostat (external reference link; purchase separately), transformer $48 and relay $130 USD each. Shipping, taxes, stock and warranty terms will be confirmed in your final quote.